 Save
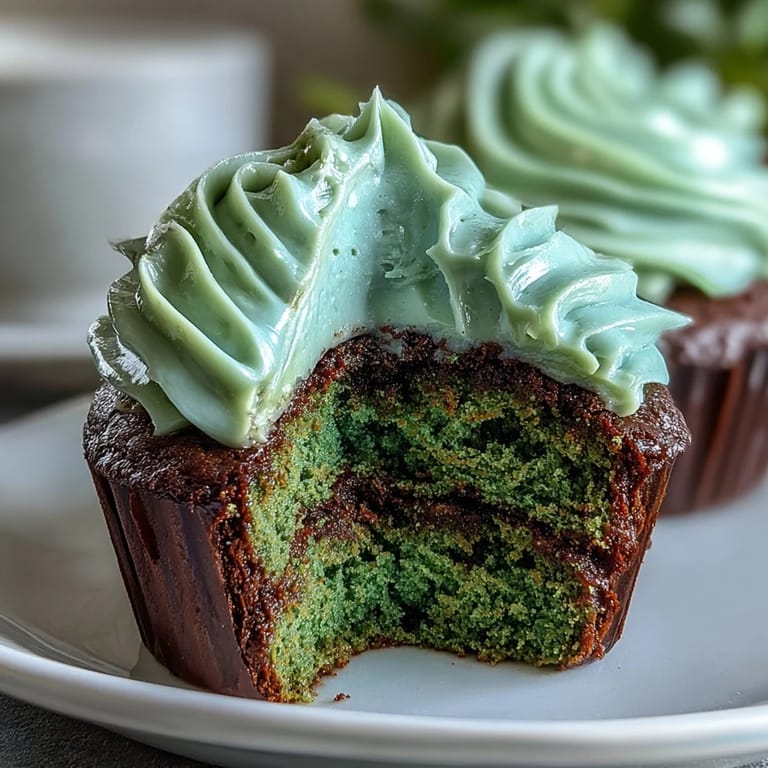
Save Last March, I was scrambling to bring something festive to a potluck dinner, and a friend casually mentioned she'd never had green velvet cupcakes. That sparked something—I wanted to create something that felt like a celebration in every bite, with that signature subtle cocoa depth that makes velvet cakes so irresistible. These cupcakes became my answer, and honestly, the way people's faces lit up when they bit into that tender crumb made me keep making them year after year.
I made these once for my neighbor's surprise birthday breakfast, and she cried—not because of the cupcakes themselves, but because someone had remembered she loved anything with cream cheese frosting. That moment taught me that sometimes the smallest gestures, like showing up with something homemade and thoughtful, matter more than we realize.
Ingredients
- All-purpose flour: Your foundation—it keeps the crumb tender without being dense, which is the whole point of velvet cakes.
- Unsweetened cocoa powder: Use a good quality one; it adds sophisticated depth without turning these into chocolate cupcakes, and you'll taste the difference.
- Baking soda: This reacts with the vinegar to give you that light, airy texture that makes velvet cakes feel almost cloud-like.
- Salt: A pinch prevents the frosting from being cloying and balances everything beautifully.
- Unsalted butter: Room temperature is non-negotiable—cold butter won't cream properly, and you need that fluffy base.
- Granulated sugar: The sweetness anchor; don't skip sifting the powdered sugar later or you'll have gritty frosting.
- Eggs: Room temperature means they'll incorporate smoothly, creating a more stable emulsion in your batter.
- Buttermilk: The acidity here is essential—it reacts with the baking soda and tenderizes the crumb in ways regular milk simply cannot.
- Sour cream: This adds moisture and tang that makes the crumb impossibly tender without being fragile.
- Vanilla extract: A good quality one makes a noticeable difference in the background flavor.
- Green food coloring: Gel is superior to liquid because it won't thin your batter and gives a richer, more vibrant color.
- White vinegar: The magic ingredient—it works with the baking soda to create lift and contributes to that signature velvet texture.
- Cream cheese: Softened properly, it becomes silky; cold cream cheese will give you lumps no amount of beating can fix.
- Powdered sugar: Sift it before adding to frosting or spend twenty minutes beating out lumps.
Tired of Takeout? 🥡
Get 10 meals you can make faster than delivery arrives. Seriously.
One email. No spam. Unsubscribe anytime.
Instructions
- Prepare your stage:
- Preheat the oven to 350°F and line your muffin tin with cupcake liners. This takes two minutes but saves you from scrambling later when you're holding a mixing bowl.
- Build your dry base:
- Whisk together flour, cocoa powder, baking soda, and salt in a medium bowl. I like to whisk for a full minute to ensure the baking soda is evenly distributed, which prevents any bitter pockets.
- Cream butter and sugar:
- Beat them together for about two minutes until the mixture looks pale and fluffy—this incorporates air that helps your cupcakes rise and stay tender. Stop once it reaches that cloud-like consistency.
- Add eggs slowly:
- Add each egg individually and beat for about thirty seconds between additions. This prevents the batter from looking broken or separated, which means a more uniform crumb.
- Alternate wet and dry:
- Mix in the buttermilk, sour cream, vanilla, green food coloring, and vinegar until combined, then gradually add the dry mixture, stirring just until no flour streaks remain. Overmixing develops gluten and makes cupcakes tough, so stop as soon as it comes together.
- Fill with precision:
- Divide the batter evenly among liners, filling each about two-thirds full. I use a cookie scoop to ensure consistency, which helps them bake at the same rate.
- Bake with attention:
- Bake for sixteen to eighteen minutes—check at sixteen by inserting a toothpick in the center, which should come out clean or with just a few moist crumbs. Overbaking dries them out, so don't walk away without setting a timer.
- Cool with patience:
- Let them sit in the pan for five minutes before transferring to a wire rack to cool completely. This prevents them from breaking apart while still being warm enough to handle.
- Make silky frosting:
- Beat softened cream cheese and butter together until smooth, then gradually add sifted powdered sugar, vanilla, and salt. Beat until it looks fluffy and holds its shape—this takes longer than you think, usually about three minutes.
- Frost with confidence:
- Once cupcakes are completely cool, use a piping bag fitted with a round tip or a simple spatula to add frosting generously. A piping bag gives you height and drama, but a spatula gives you a more homemade, rustic look.
 Save
Save There's something magical about feeding people something that looks festive but tastes like you actually care about the flavors. These cupcakes do that—they're pretty enough for a party, but interesting enough that adults lean back and ask for the recipe.
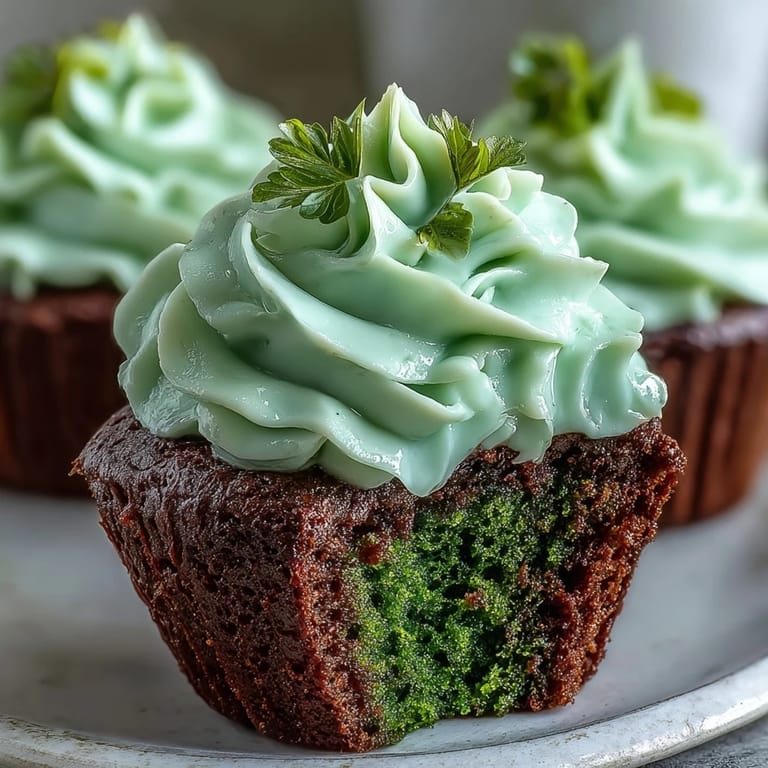
Why Green Velvet Works
Green velvet is that middle ground between chocolate cake and something lighter, almost like someone whispered cocoa into the batter instead of announcing it. The cream cheese frosting cuts any sweetness and adds a sophistication that plain vanilla frosting simply can't match. That combination is why people remember these cupcakes and ask you to bring them back.
The Frosting Game
Cream cheese frosting is deceptively simple but unforgiving if you rush it. The key is patience—letting the cream cheese and butter get completely smooth before adding sugar, then beating longer than feels necessary. I once skipped a full minute of beating and ended up with frosting that looked grainy under the piping bag, so now I beat it until it's practically fluffy enough to float.
Timing and Storage
These cupcakes actually taste better the next day once the flavors settle, which is convenient if you're baking ahead. You can frost them up to four hours before serving, and they stay fresh covered at room temperature if your kitchen isn't sweltering.
- Unfrosted cupcakes keep for two days in an airtight container at room temperature, or freeze for up to three weeks.
- Frosted cupcakes are best eaten within two days, though they won't spoil—they just dry out slightly.
- Bring them to room temperature before serving if they've been refrigerated, which takes about thirty minutes and makes the frosting taste richer.
 Save
Save These cupcakes have become my go-to for celebrations, and every batch reminds me that homemade food is its own kind of magic. Bring them to a gathering and watch what happens.
Recipe Questions & Answers
- → What gives the cupcakes their green color?
The vivid green hue comes from gel food coloring, which provides a deeper, more vibrant shade than liquid alternatives.
- → How can I ensure the cupcakes stay moist?
Incorporating buttermilk and sour cream into the batter enhances moisture, resulting in a tender and soft crumb.
- → Can I substitute ingredients for dietary preferences?
While these cupcakes contain dairy and eggs, you can explore alternatives like plant-based butter and eggs to adjust for dietary needs.
- → What is the best way to apply the cream cheese topping?
Once completely cooled, use a piping bag or spatula to spread the smooth cream cheese frosting evenly over each cupcake.
- → Any tips for enhancing the flavor?
Adding a drop of mint extract to the batter adds a refreshing twist that complements the cocoa and cream cheese elements beautifully.