Save
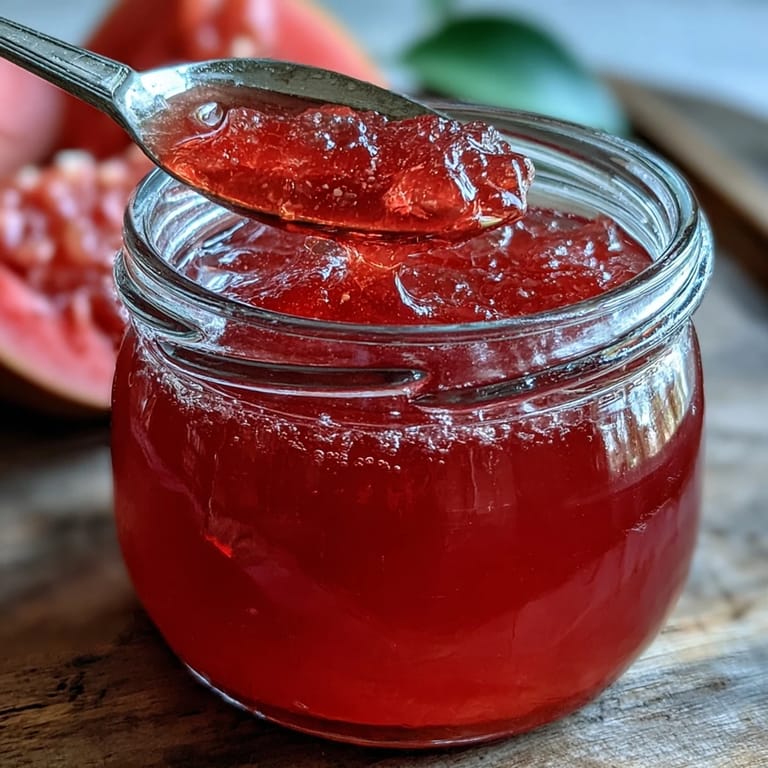
Save The first time I encountered guavas was at a neighborhood market where the vendor insisted I try one that was 'just perfect.' That single fruit smelled like tropical sunshine and childhood summers all at once, and I ended up buying more than I could possibly eat fresh. So I decided to preserve that magic in a jar, and now my pantry always holds a little bottle of pink gold.
Last autumn, my sister visited and we spent an entire afternoon making batch after batch of this jelly. The kitchen filled with this impossibly fragrant steam that made us both giddy, and by sunset we had lined up twelve glowing jars on the counter. Now every time she opens one, she texts me a picture of that beautiful pink spread.
Ingredients
- Ripe guavas: Choose fruits that give slightly when pressed and smell absolutely intoxicating, the aroma translates directly to flavor
- Water: Needed to extract all that gorgeous pink juice and natural pectin from the fruit
- Granulated sugar: Essential for proper gelling and preserving, it also lets the guavas natural floral notes shine
- Lemon juice: Balances sweetness and helps the jelly reach that perfect set, it also brightens the tropical flavor
Tired of Takeout? 🥡
Get 10 meals you can make faster than delivery arrives. Seriously.
One email. No spam. Unsubscribe anytime.
Instructions
- Prepare the fruit:
- Wash those fragrant guavas thoroughly and cut them into quarters, keeping the skins and seeds because they contain all the pectin you need for a good set.
- Extract the juice:
- Place the guava pieces in a large saucepan with water and bring to a boil, then reduce heat and simmer until the fruit is completely soft and falling apart, about 30 minutes.
- Strain patiently:
- Line a strainer with double layered cheesecloth set over a bowl, pour in the cooked fruit and liquid, and let gravity do its work for at least 2 hours or overnight without pressing or squeezing.
- Measure and combine:
- Pour the extracted juice into a clean saucepan, add the lemon juice, then stir in exactly one cup of sugar for each cup of juice you have.
- Reach gel stage:
- Bring everything to a rolling boil over high heat and cook rapidly until it hits 220 degrees or passes the wrinkle test on a cold plate.
- Seal the jars:
- Pour the hot jelly into sterilized jars leaving a quarter inch of headspace and seal immediately while everything is still piping hot.
 Save
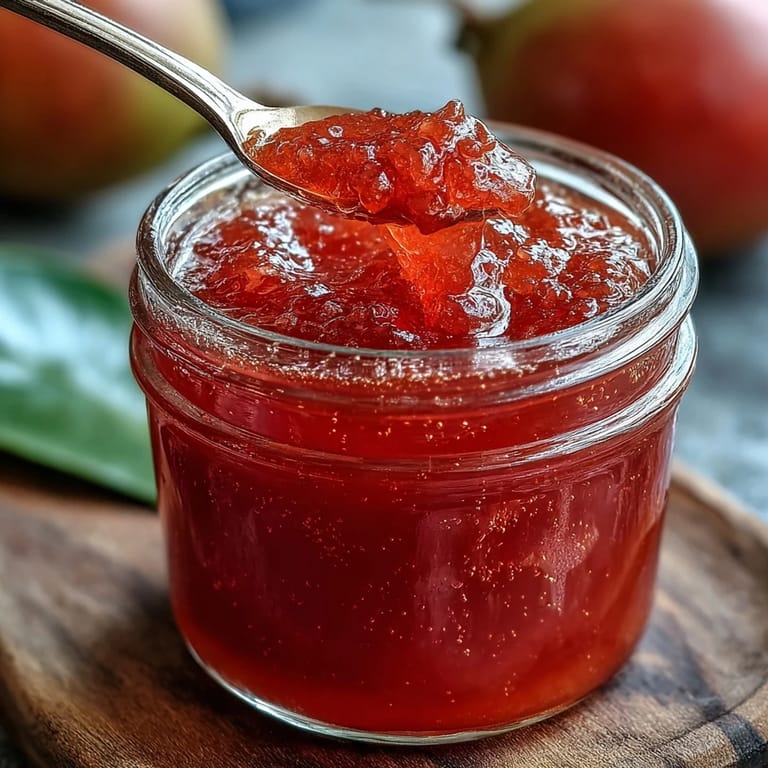
Save My daughter now asks for guava jelly on her morning toast every single day, watching the pink spread melt into warm bread has become our little breakfast ritual. Some mornings she just eats it off the spoon with the biggest grin.
Getting the Perfect Set
Reaching gel stage is where most people get nervous, but that cold plate test never fails. Just drop a spoonful onto a chilled plate, wait a minute, then push it with your finger, if it wrinkles up like a tiny wave of pink silk, you are absolutely done.
Endless Possibilities
Beyond toast, this jelly makes thumbprint cookies sing and transforms vanilla ice cream into something special. I have even brushed it on warm pound cake right out of the oven for a shiny, fruity glaze that disappears in seconds.
Storage Success
Once opened, keep your jar in the refrigerator and use within three weeks for the best flavor and texture. Unopened jars will happily wait in a cool, dark corner of your pantry for up to a year, though they never last that long in my house.
- Sterilize your jars and lids thoroughly before filling to prevent any spoilage
- Leave that quarter inch headspace to ensure a proper vacuum seal
- Label each jar with the date so you know which ones to enjoy first
 Save
Save There is something deeply satisfying about seeing those jewel toned jars lined up, knowing you have captured the essence of a perfect season in a spoonful. Happy jelly making.
Recipe Questions & Answers
- → How long does guava jelly take to set?
The jelly typically reaches the gel stage after 15-20 minutes of rapid boiling at 220°F (104°C). You can test doneness by placing a spoonful on a cold plate - if it wrinkles when pushed, it's ready.
- → Can I use overripe guavas?
While ripe guavas work well, slightly underripe fruit actually contains more natural pectin which helps the jelly set properly. A mix of ripe and slightly underripe guavas gives the best results.
- → Why shouldn't I press the fruit while straining?
Pressing or squeezing the fruit during straining forces pulp and particles through the cheesecloth, resulting in cloudy jelly. Letting it drip naturally produces the clear, jewel-toned appearance desired.
- → How should I store the finished jelly?
Properly sealed jars can be stored in a cool, dark place for up to a year. Once opened, keep refrigerated and use within three weeks for best quality and flavor.
- → What can I use guava jelly for?
This versatile preserve works wonderfully as a toast spread, filling for thumbprint cookies, glaze for cakes, or topping for ice cream and cheesecake. Its tropical flavor pairs beautifully with both sweet and savory dishes.
- → Do I need to add commercial pectin?
No commercial pectin is required. Guavas naturally contain sufficient pectin, especially when using slightly underripe fruit. The lemon juice also helps with the gelling process.