 Save
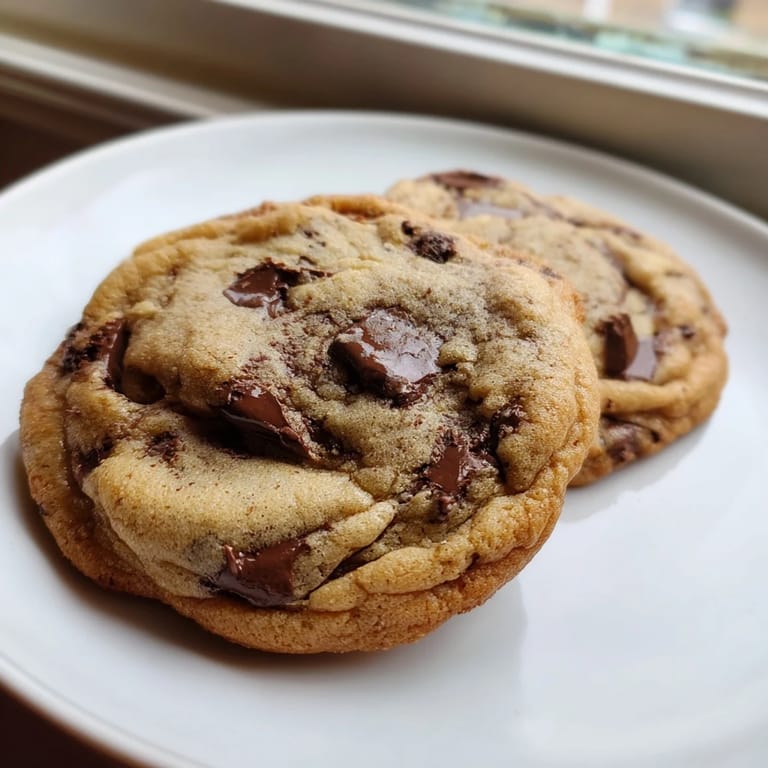
Save There's something about the smell of butter and brown sugar heating in a bowl that stops me mid-thought every time. My first chocolate chip cookie revelation didn't come from a fancy bakery or a cookbook—it came from watching my neighbor pull a tray out of her oven on a random Tuesday afternoon, the kitchen golden with late-day sun. She handed me one still warm, and I bit into that soft, chewy middle with pools of melted chocolate, and suddenly understood why people keep coming back to this recipe. It's not complicated or trendy; it's just honest.
I made these for a small dinner party once where everything else fell apart—the main dish was overdone, the salad got forgotten—but people kept drifting back to the cooling rack where these cookies sat. Someone asked for the recipe before they left, then another person did, and suddenly what felt like a backup plan became the night's real success. That's when I learned these aren't just cookies; they're the thing people actually want to remember about being in your kitchen.
Ingredients
- All-purpose flour (2 1/4 cups): This is your structure—too little and they spread thin, too much and they get dense and cake-like, so measure by spooning and leveling, not scooping straight from the bag.
- Baking soda (1/2 teaspoon): The unsung spreader that helps these cookies flatten into that perfect chewy disc; skip it and you'll get puffy rounds instead.
- Salt (1/2 teaspoon): A small amount does something crucial—it balances the sweetness and somehow makes the chocolate flavor louder.
- Unsalted butter (1 cup, softened): Softened means room temperature, soft enough to leave a dent when you press it, not melted or cold from the fridge.
- Granulated sugar (3/4 cup): Brings a finer crumb and helps with spreading; paired with brown sugar, it creates the ideal texture balance.
- Packed light brown sugar (3/4 cup): The flavor secret—this is where molasses lives, giving depth and chewiness that granulated sugar alone can't do.
- Large eggs (2): Room temperature eggs mix more smoothly; cold ones can make the batter seize or stay lumpy.
- Pure vanilla extract (2 teaspoons): The amplifier that makes everything taste more like itself, so don't use imitation or your cookies will taste flat.
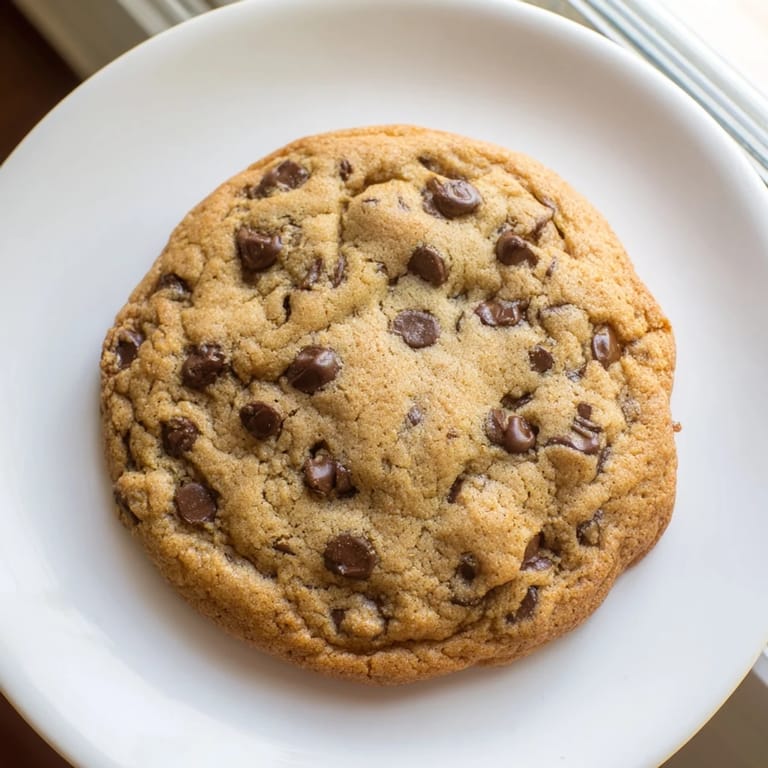
- Semi-sweet chocolate chips (2 cups): The main event—these melt slightly during baking, creating those warm pockets that make a cookie worth eating.
Tired of Takeout? 🥡
Get 10 meals you can make faster than delivery arrives. Seriously.
One email. No spam. Unsubscribe anytime.
Instructions
- Set your stage:
- Preheat to 350°F and line your baking sheets with parchment paper—this prevents sticking and lets the bottoms brown evenly without scorching.
- Combine the dry team:
- Whisk flour, baking soda, and salt together in a medium bowl, breaking up any lumps of salt that hid in the container; this distributes the leavening evenly so you don't end up with dense patches.
- Cream butter and sugars:
- Beat them together for about 2 minutes until the mixture looks pale, fluffy, and lighter than when you started—this incorporates tiny air bubbles that help cookies spread and bake evenly. The transformation is real; you'll see it shift from dense to almost cloud-like.
- Add eggs and vanilla one at a time:
- Beat well after each egg so it fully incorporates; rushing this step can leave you with a curdled-looking batter that still works but feels less smooth. The vanilla goes in last and smells incredible—take a moment to enjoy that.
- Stir in the dry ingredients gently:
- Mix just until combined; this is not the time to keep going—overmixing develops gluten and turns cookies tough. Stop when you can barely see streaks of flour.
- Fold in chocolate chips:
- Distribute them evenly by hand or with a few gentle stirs so every cookie gets plenty of chocolate.
- Scoop onto prepared sheets:
- Use a cookie scoop or rounded tablespoon to keep sizes consistent; space them 2 inches apart because they will spread and you don't want them touching and baking into each other.
- Bake until edges turn golden:
- Watch for the edges to set and turn light gold while the centers still look slightly underdone—this usually takes 10–12 minutes depending on your oven's mood. The centers will continue cooking on the hot pan after removal.
- Cool properly for perfect texture:
- Let them sit on the baking sheet for 5 minutes so they firm up enough to move without tearing, then transfer to a wire rack; this cooling method is what keeps them chewy instead of getting hard.
 Save
Save My daughter once asked why homemade cookies taste different from store-bought, and I realized I didn't have a fancy answer—they just do. There's something about the warmth and the care that moves through your hands into the dough, and it translates into something that matters.
The Brown Sugar Factor
Brown sugar changed everything once I understood what it does. The molasses trapped inside it doesn't just add flavor; it adds moisture and chewiness that you can't get any other way. I tried replacing it with extra granulated sugar once to see what would happen, and the cookies came out thin and crispy instead of thick and chewy—a stark enough difference that I never made that mistake again. Now I'm particular about using light brown sugar specifically, not dark, because dark gives an almost molasses-forward flavor that can overwhelm the chocolate.
Storage and Keeping
Fresh cookies are best within the first day or two, but they keep well in an airtight container for up to five days without becoming stale. I've learned that keeping them in a container with a slice of bread actually works—the cookies soften slightly and stay more chewy, though the bread gets hard. If you want to keep dough on hand for fresh-baked cookies whenever the craving hits, you can freeze unbaked dough scoops for up to three months; bake from frozen and add just a couple minutes to the baking time.
Variations Worth Trying
The base recipe is solid, but it's also flexible in ways that keep things interesting. Switch out chocolate types—dark chocolate feels more sophisticated, milk chocolate is sweeter and creamier, white chocolate is unexpected and divides people but converts skeptics—or add about a cup of chopped nuts if you want texture and richness. A 30-minute chill of the dough before baking deepens the flavors slightly and keeps the cookies from spreading quite as much, which some people prefer.
- Chilling dough is optional but creates slightly thicker, more intentional-looking cookies.
- Nuts, dried fruit, or extra chocolate varieties can swap in for half the chips without changing how they bake.
- A tiny pinch of cinnamon or a hint of sea salt on top right after baking feels like a small luxury.
 Save
Save These cookies exist in that rare place where simplicity and satisfaction meet, where the process is as rewarding as the result. Make them for yourself, make them for others, and watch what happens.
Recipe Questions & Answers
- → How can I achieve the perfect soft and chewy texture?
To get a soft and chewy texture, avoid overmixing the dough and bake just until edges are golden while the center remains soft. Cooling on baking sheets helps set the texture.
- → Can I substitute the semi-sweet chocolate chips?
Yes, you may swap semi-sweet chips for dark, milk, or white chocolate chips depending on your flavor preference.
- → What is the benefit of chilling the dough before baking?
Chilling the dough for about 30 minutes enhances flavor and helps control spreading, resulting in thicker, chewier treats.
- → Can nuts be added to these treats?
Absolutely, folding in chopped walnuts or pecans adds crunch and a complementary flavor.
- → How should these be stored to maintain freshness?
Store in an airtight container at room temperature for up to five days to keep them soft and flavorful.