 Save
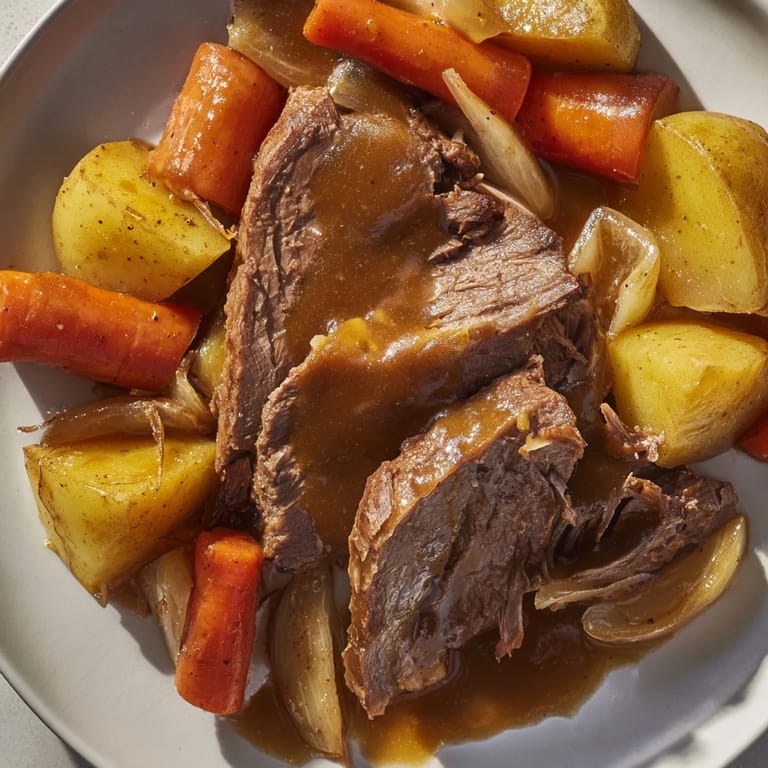
Save There's something about the smell of a pot roast braising in the oven that stops you mid-afternoon and makes you forget whatever else you were supposed to be doing. My grandmother's kitchen always felt like the warmest place on earth when she had one going—the kind of smell that wraps around you like a hug. Years later, I realized I was chasing that exact feeling when I started making my own, and somehow it never disappoints. The meat melts into tenderness, the vegetables absorb all those savory juices, and before you know it, you've created something that tastes like home feels.
I made this for the first time when my partner was having a rough week, and I remember how their face changed the moment they walked through the door and caught that aroma. We sat down to eat without saying much, just letting the food do the talking, and it became one of those quiet evenings that stick with you. That's when I understood that pot roast isn't really about impressing anyone—it's about showing up for people with something warm and real.
Ingredients
- Chuck roast (3–4 lbs): This cut has just enough marbling to become silky when braised low and slow; anything leaner and you'll miss that richness.
- Kosher salt and black pepper: Don't skip seasoning the meat generously before it hits the pan—this is your foundation.
- Olive oil: You need enough heat to get a proper brown crust, which means good oil in sufficient quantity.
- Yukon Gold or Russet potatoes: Yukon Golds hold their shape better and absorb the gravy like little flavor sponges.
- Carrots and onions: Cut them chunky enough that they won't dissolve, but small enough to cook through in the time the beef needs.
- Garlic: Smashing it releases the flavor into the braising liquid without turning it into mush.
- Beef broth and red wine: The wine adds depth, but honest broth does the real work here.
- Tomato paste: Just a tablespoon caramelizes into the pan and builds a savory base that makes everything taste better.
- Worcestershire sauce: A little umami boost that people taste but can never quite name.
- Thyme and bay leaves: Fresh thyme is lovely if you have it, but dried works just as well in a long braise.
- Flour or cornstarch: This thickens your braising liquid into actual gravy—keep it smooth by whisking it with cold water first.
Tired of Takeout? 🥡
Get 10 meals you can make faster than delivery arrives. Seriously.
One email. No spam. Unsubscribe anytime.
Instructions
- Get your oven ready:
- Preheat to 300°F—this gentle heat is what makes braising work, turning tough muscle into something tender over time.
- Prepare and season your beef:
- Pat the roast dry (moisture stops browning), then season all sides generously with salt and pepper. Don't be shy here.
- Sear the meat:
- Heat your oil in the Dutch oven until it shimmers, then place the roast in and let it sit undisturbed for 4–5 minutes to build a golden crust. Flip and repeat on the other side. You're building flavor that will travel through every bite.
- Build your flavor base:
- Remove the roast, add your onions and garlic to the same pot, and let them soften for a couple minutes. Stir in tomato paste and let it cook for a minute until it darkens slightly, then pour in your red wine and scrape up all those browned bits stuck to the bottom—that's pure flavor.
- Layer it all together:
- Return the roast to the pot, add your broth, Worcestershire, thyme, and bay leaves, then arrange potatoes and carrots around it. Pour enough liquid to come halfway up the meat.
- Braise low and slow:
- Cover and transfer to the oven for 3 to 3½ hours, until the beef tears apart with a fork and the vegetables are completely tender. You're not checking on this—just let time and gentle heat do their thing.
- Make the gravy:
- Remove the roast and vegetables to a plate, skim the fat from the top of the liquid, then whisk flour with cold water until completely smooth before stirring it into the pot. Simmer on the stovetop while whisking constantly until it thickens into a glossy gravy, about 3–5 minutes.
- Plate and serve:
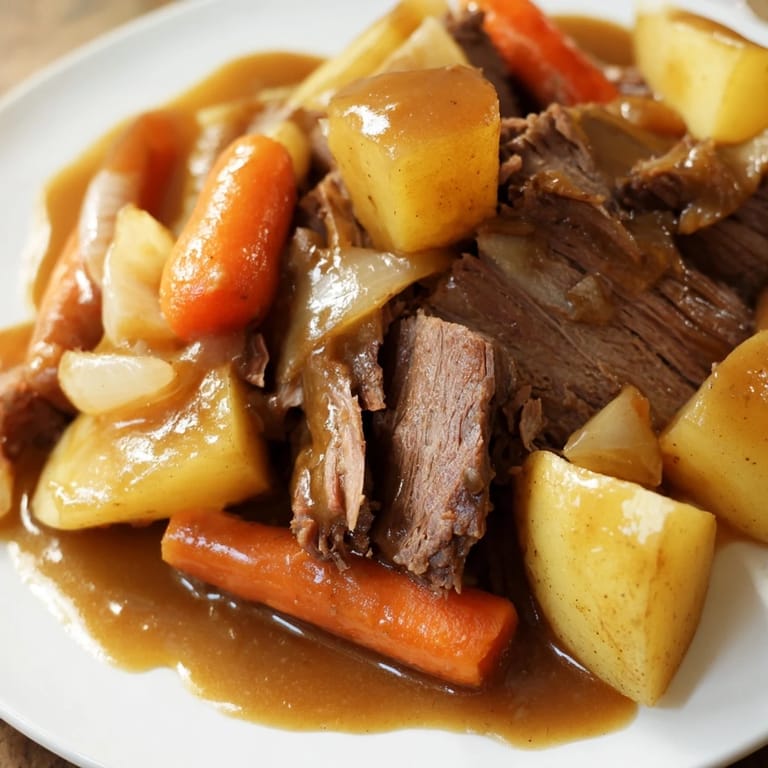
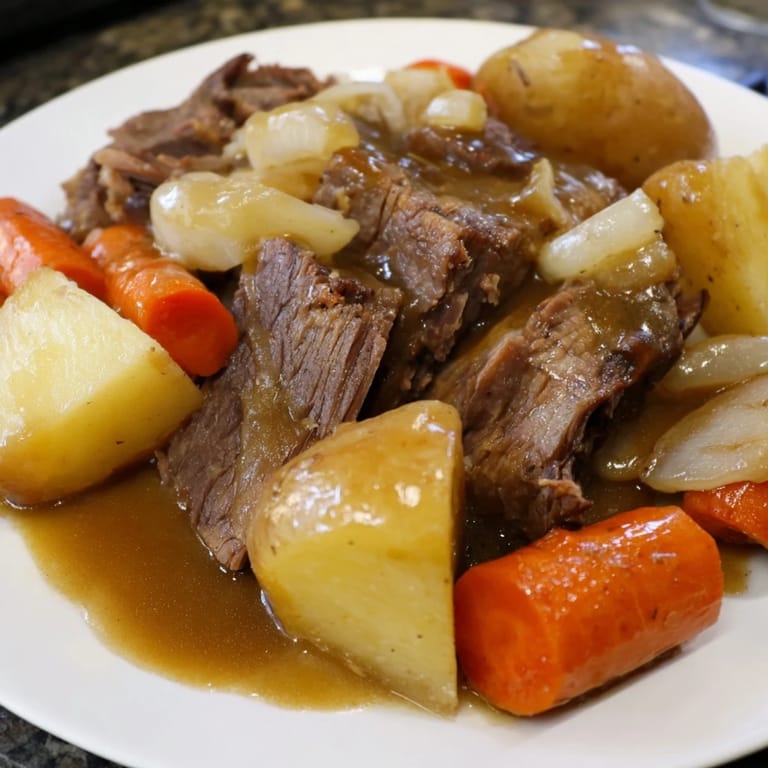
- Slice the beef, arrange it with the vegetables, and pour that rich gravy over everything.
 Save
Save My neighbor once told me her secret was adding a splash of balsamic vinegar to the gravy at the very end, and I've never looked back. It's those tiny discoveries, borrowed from someone else's kitchen, that transform a recipe from something you follow into something that becomes genuinely yours.
Why Braising Is Your Best Friend
Braising is one of those cooking techniques that sounds fancy but is actually the opposite—you're basically just letting heat and time do all your work. The low oven temperature means the meat can't overcook, which takes the stress completely out of the equation. By the time those three and a half hours are up, everything has absorbed the flavors around it, and you're left with something that tastes like it took way more effort than it actually did.
What to Serve Alongside
A crusty bread is non-negotiable if you want to soak up every last drop of gravy, and honestly, that's half the meal right there. Some people do egg noodles or mashed potatoes on the side, but the potatoes braised in the pot already give you everything you need. The vegetables cook right in the liquid, so they're infused with flavor rather than sitting separate on the plate.
Making It Your Own
This is the kind of recipe that welcomes tinkering—some people swear by adding parsnips or a stalk of celery for extra sweetness, and I've heard of folks throwing in mushrooms for earthiness. The beauty is that whatever you add just becomes part of the braising liquid and deepens the whole thing. The red wine is optional too; if you skip it, just use a bit more broth and maybe add an extra teaspoon of Worcestershire for that savory depth.
- Leftovers make the best sandwiches the next day, piled high on bread and maybe warmed through with a little extra gravy.
- This freezes beautifully for up to three months, so doubling the recipe on a quiet Sunday pays off later.
- If you end up with too much gravy, remember you can always thin it with a splash of broth rather than having to start over.
 Save
Save This dish reminds me that the best meals are the ones you don't rush, the ones that fill your kitchen with warmth and your table with people who linger. Make this when you want to say something without words.
Recipe Questions & Answers
- → What cut of beef is best for this dish?
Chuck roast is ideal due to its marbling and connective tissue, which breaks down during slow cooking for tender, flavorful meat.
- → Can I use a different thickener for the gravy?
Yes, cornstarch can replace flour for a gluten-free option; just mix with cold water before adding to the pot.
- → How do I know when the beef is done?
The beef is ready when it is fork-tender and can be easily pulled apart after braising for 3 to 3.5 hours at low heat.
- → Is red wine necessary for cooking?
Red wine adds depth to the gravy, but you can substitute it with extra beef broth if preferred or to avoid alcohol.
- → Can I prepare this dish ahead of time?
Yes, flavors often improve after resting. Refrigerate leftovers and reheat gently, adding extra broth if needed.